We have all been using PowerPoint for years. We have used transitions and animations to make our presentations become alive. In this tutorial, we want to show you how to use a transition that is available on Office 365 and PowerPoint 2019. This transition is often overlooked since it is relatively new. It is the Morph transition.
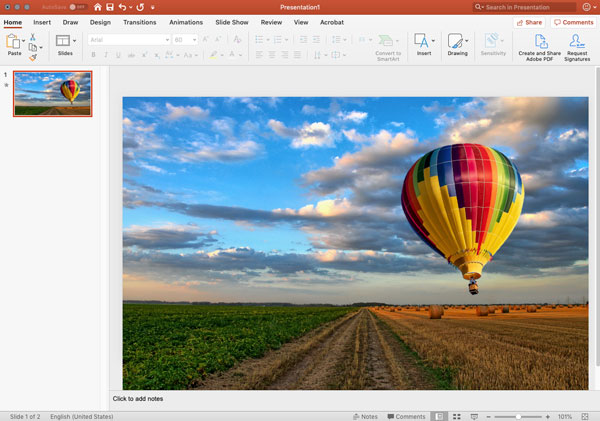
The Morph transition allows you to animate movement between two slides to give the appearance that objects are moving on the same slide. To make the Morph transition look smooth, you will need to have at least one object in common on both slides. In our example, we are going to “morph” a hot air balloon and text on a sky and field background.
Here are the steps to create animated movement with the Morph Transition
- Began by creating a slide. We created a slide that has a background, an image of a hot air balloon, and text (which is behind the balloon layer.

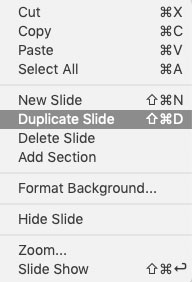
- Right-click your slide and choose “Duplicate Slide”

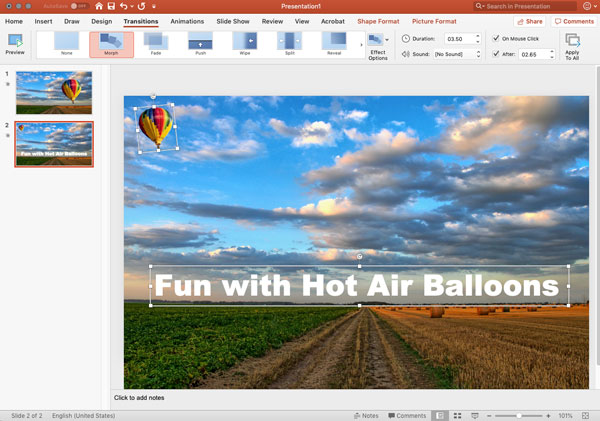
- Move your layers around and resize them and then choose Morph under the Transitions tab.

- Now you can hit the “Preview” button under the Transitions tab to see your morphed transition. To view the transition of our hot air balloon, click on the video below.[embedyt] https://www.youtube.com/watch?v=tta4mwwSGjg[/embedyt]
Take your PowerPoint a level beyond transitions and animations. When you use the Morph transition, your audience will think that you embedded a video. If you have questions about PowerPoint or would like to inquire about PowerPoint classes for your organization, let us know. We would love to talk.


